Installation
Installation
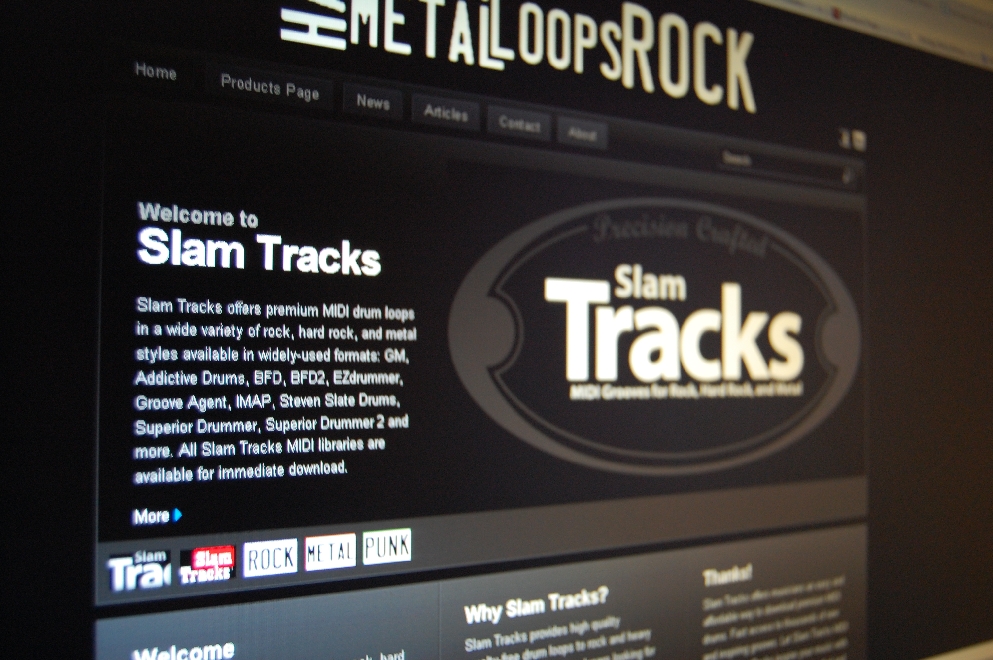
How to install Slam Tracks MIDI drum loop files
Obviously, you can organize your MIDI files the way that works bets for your work flow. But, a well-organized MIDI library will speed up the songwriting process as well as allow arranging the drum track painless.
A powerful organizational tool helpful in taming your MIDI library is Toontrack’s EZPlayer. This does a great job of giving structure and order to all your MIDI files.
That said, let’s get into how you will go about getting your Slam Tracks MIDI Packs into your DAW and start slamming…
Installation
To add a MIDI file to your arrangement, you either use menu commands (import MIDI file) or perform a MIDI “Drag and Drop” from your Explorer/Finder window. Specifics do vary from DAW host to other DAW hosts. Here are a few suggested routines for the major DAW hosts:
ProTools
- Create a new MIDI track or select an existing one
- Go to File > Import > MIDI
- Browse to your Slam Tracks MIDI files location
- Select the desired MIDI file and click Open
- The MIDI data will be imported to your selected track
Cubase
- Create a new MIDI track or select an existing one
- Go to File > Import > MIDI File
- Navigate to your MIDI files folder
- Select the file and click Open
- Alternatively, drag and drop MIDI files directly from your file browser onto a MIDI track
Cakewalk (formerly Sonar)
- Go to File > Import > MIDI
- Browse to your MIDI files directory
- Select the desired file and click Open
- Choose whether to import to a new track or merge with existing tracks
- You can also drag MIDI files directly from Windows Explorer onto your project
Apple Logic Pro
- In the Track Area, select the track where you want to import the MIDI
- Go to File > Import > MIDI File
- Navigate to your MIDI files and select the desired file
- Click Open to import
- Logic also supports drag-and-drop from Finder directly onto tracks
GarageBand
- Open your project and select a Software Instrument track
- Go to Track > Import MIDI File
- Browse to your MIDI files location
- Select the file and click Import
- The MIDI data will appear as a new region on your track
**Due to DAW upgrades and version differences, please consult your DAW documentation for detailed specifics. It’s usually painless and easy to find in the documentation.
Compatibility
Slam Tracks products will work with any drum Virtual Instrument (VI) or sound module that accepts and supports General MIDI file use. All of our products are MIDI files, which, by their very nature, only tell the VI or sampler/module what to play. The MIDI files indicate the note number, voice, velocity and other MIDI data.
In and of themselves, MIDI files do NOT create the sound. What you hear is the sampled sounds of your VI or sampler/sound module.
Compatible Virtual Instruments Include:
- Superior Drummer (Toontrack)
- BFD3 (FXpansion/inMusic)
- Steven Slate Drums
- Native Instruments Battery
- XLN Audio Addictive Drums
- PreSonus Impact
- Logic Pro’s Drummer and Drum Kit Designer
- Any GM-compatible hardware sound modules
General MIDI Drum Map
Our MIDI files follow the standard General MIDI drum mapping:
- C1 (36): Kick Drum
- D1 (38): Snare Drum
- F#1 (42): Closed Hi-Hat
- A#1 (46): Open Hi-Hat
- D2 (50): High Tom
- F2 (53): Ride Cymbal
- And many more according to GM specifications
Troubleshooting Common Issues
Problem: MIDI file imports but no sound is heard Solution: Ensure your MIDI track is routed to a drum VI or sound module, and that the VI is properly loaded with drum samples.
Problem: Wrong drum sounds are triggered Solution: Check that your VI is set to General MIDI mode, or manually map the MIDI notes to match your preferred drum sounds.
Problem: Timing issues or tempo mismatch Solution: Most DAWs will import MIDI at the file’s original tempo. Adjust your project tempo or use your DAW’s tempo mapping features to sync properly.
Getting the Best Results
To maximize the impact of your Slam Tracks MIDI files:
- Layer multiple patterns: Combine different MIDI files to create complex, evolving drum arrangements
- Edit velocities: Adjust note velocities to add dynamics and humanization
- Add fills: Use our fill patterns between song sections for smooth transitions
- Customize sounds: Don’t be afraid to swap out drum sounds in your VI to match your song’s style
- Process with effects: Add compression, EQ, and reverb to your drum VI’s output for professional polish
Virtual Instruments and/or sound modules each have their own documentation and support to ensure you get the best sound possible using Slam Tracks MIDI drum grooves.
Should you encounter any issues, however, we are always available to help through our contact page.
Next Steps
Once you’ve successfully installed and imported your first Slam Tracks MIDI files, explore our extensive library of grooves across multiple genres. Each pack is designed to inspire creativity and provide you with professional-quality drum tracks that will elevate your music production.
Remember, these MIDI files are fully editable, so feel free to customize them to perfectly fit your music. Should you encounter any issues, however, we are always available to help through our contact page.
–The Slam Tracks Team