Dec
Instruction and Education
5 Secrets to Humanizing MIDI Drums
5 Secrets to Humanizing MIDI Drums
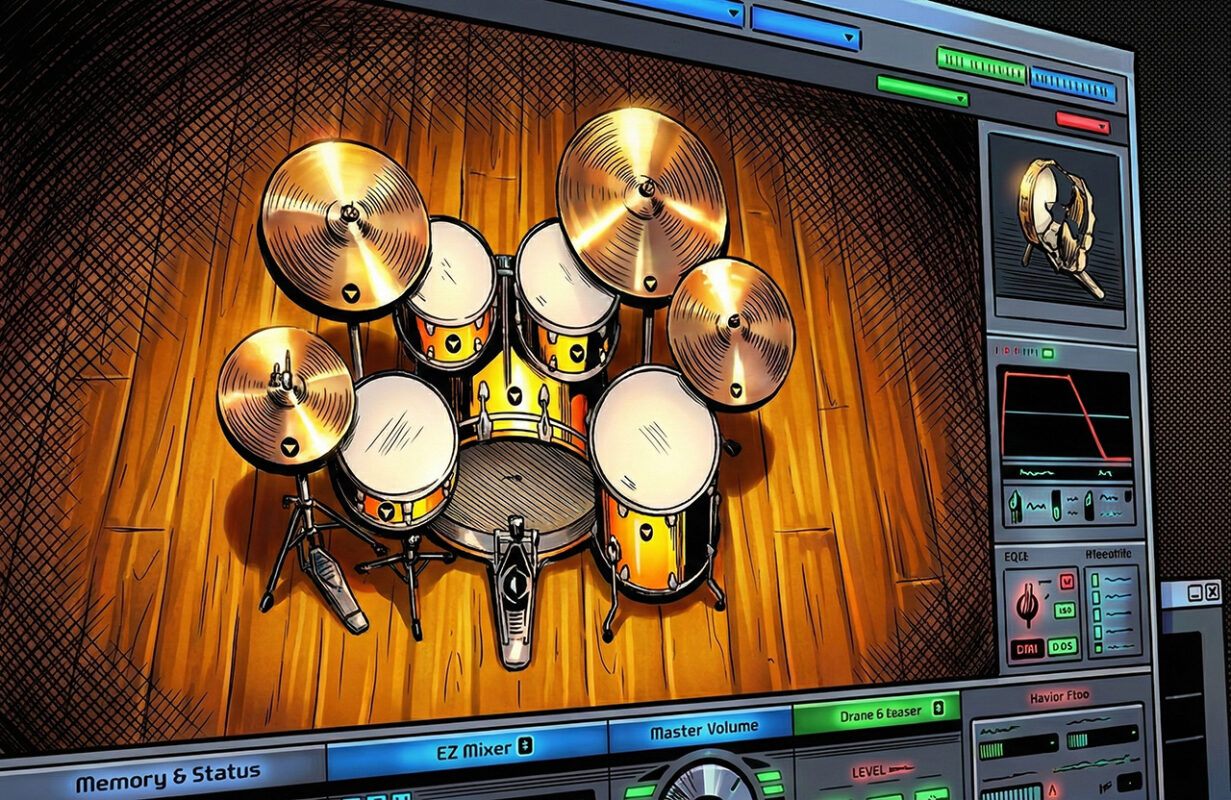
We need to talk about your MIDI drums.
You know that feeling when you’re listening to a track and something just feels… off? The drums are hitting all the right notes, they’re perfectly on time, but they sound like a metronome had a baby with a calculator. Yeah, we’ve all been there. And if you’ve ever programmed drums in a DAW, you’ve probably created that feeling too.
Here’s the truth: everyone (or, at least most people) can tell when a drum track is “drawn in.” It doesn’t matter how expensive your samples are or how complex your pattern is—if those drums sound like they were programmed by someone who’s never actually seen a drum kit, your track is going to suffer.
But it doesn’t have to be this way: making MIDI drums sound human isn’t rocket science. It just requires understanding a few key principles that separate the “I drew these drum patterns in with my mouse and a few clicks” crowd from the “wait, is that a real drummer?” club.
Let’s dive into five secrets that’ll transform your robotic MIDI drums into grooves that actually groove.
1. Velocity Variation: Why “127” Is the Enemy of Groove
Quick question: What velocity do most beginners use when programming drums?
If you said “127” (or “100” for the slightly more cautious), congratulations—you’ve identified Public Enemy Number One in the war against robotic drums.
Here’s why this matters: Real drummers don’t hit every note at the same volume. It’s nearly impossible for one thing and not exactly musical foranother. Their energy fluctuates throughout a performance. Their stick height varies. Some hits are accented, others are barely tapped. This constant variation is what makes live drums feel alive.
When you program every kick at velocity 100 and every snare at velocity 110, you’re basically telling the world: “A machine made this, and I’m fine with that.”
The Fix:
Start thinking in terms of velocity ranges instead of fixed values. For a typical rock or hip-hop beat, try this:
- Kicks: Vary between 90-115, with occasional accents hitting 120+
- Snares: Main hits around 100-110, ghost notes down at 30-50
- Hi-hats: This is crucial—vary these between 60-95, with the occasional accent up to 100
The backbeat (usually beats 2 and 4) should generally hit harder than other beats. Think about how a drummer naturally emphasizes certain parts of the pattern.
Pro tip: Don’t just randomize velocities—that creates a different kind of wrong. Instead, think about the musical reason each hit would be louder or softer. Is it an accent? A transition? The beginning of a phrase? Program with intention.Good drummers certainly play with intention.
2. The “Humanize” Function vs. Manual Editing: When Automation Is Your Friend (and When It’s Not)
Most DAWs come with a magic “Humanize” button that promises to make your MIDI drums sound less robotic. Should you use it? 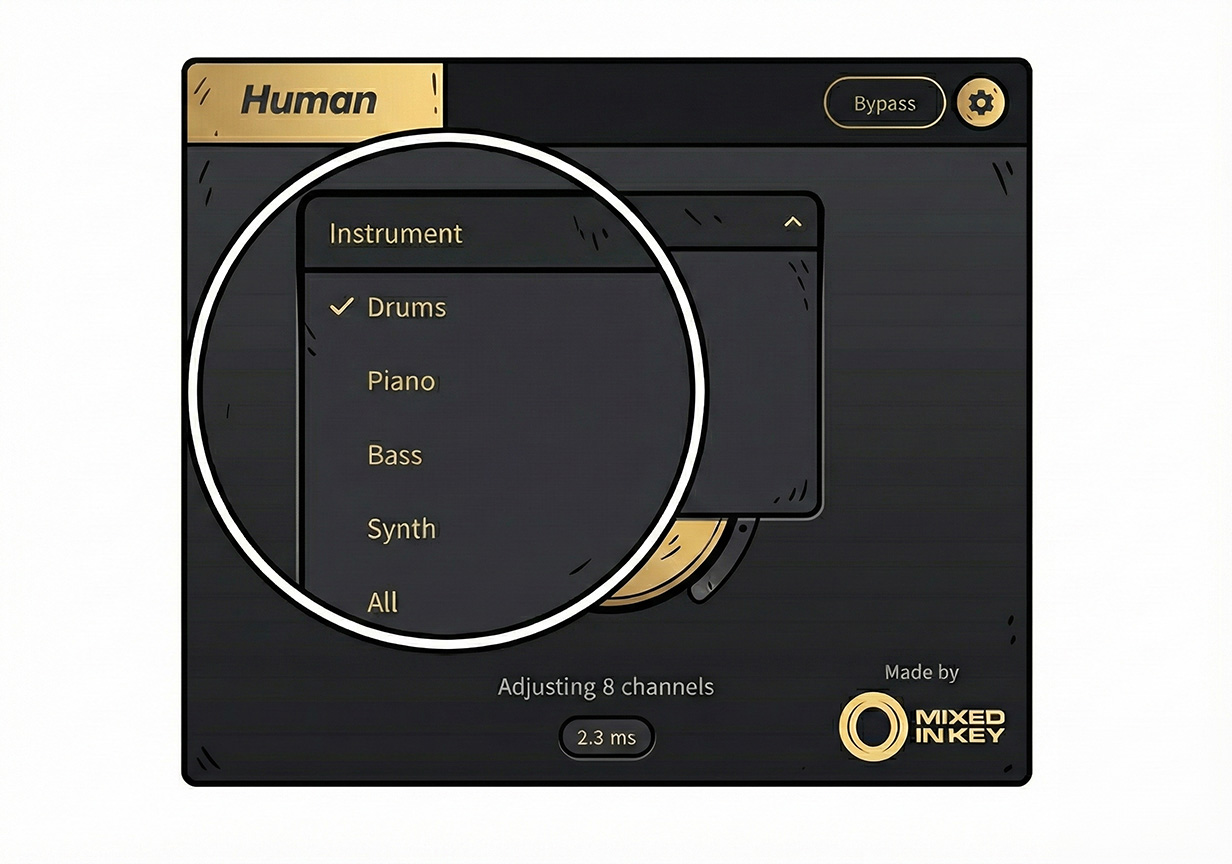
The answer is: kind of.
DAW humanize functions typically randomize two things: timing (moving notes slightly off the grid) and velocity (varying the volume of each hit). This can definitely help, but it’s a blunt instrument. Just like Instagram filters: they can improve a photo, but they can’t fix fundamentally bad composition (or an ugly face).
When to use the Humanize function:
- You’ve got a 32nd-note hi-hat pattern that needs subtle variation
- You’re working fast and need a “good enough” solution
- You’re humanizing secondary percussion or background elements
- You want a starting point that you’ll refine manually
When to edit manually:
- For your main groove elements (kick, snare, primary hi-hats)
- When you need specific notes to rush or drag for emotional effect
- When the humanize function makes things sound drunk instead of human
- Any time the groove is exposed or featured in the mix
The truth is, the best approach combines both. Use the humanize function to get 70% of the way there, then go in and manually adjust the notes that matter most. Which brings us to…
3. Micro-Timing: “Rushing” the Snare vs. “Dragging” the Kick
This is where things get interesting. We’re not just talking about moving notes slightly off the grid randomly—we’re talking about strategic timing choices that change the entire feel of your track.
Real drummers have tendencies. Some rush (play slightly ahead of the beat), which creates urgency and forward momentum. Others drag (play slightly behind), which creates a laid-back, groovy feel. The really great ones do both, depending on what the music needs.
Rushing the snare: Move your snare hits 5-15 milliseconds early and suddenly your track feels more urgent, more exciting, more “leaning forward.” This works great for:
- Punk, pop-punk, and energetic rock
- Uptempo dance music that needs drive
- Builds and risers leading to drops
- Any moment where you want to create tension
Dragging the kick: Move your kick drum 5-20 milliseconds late and your groove starts to feel relaxed, confident, behind-the-beat. This is killer for:
- Hip-hop and trap where you want that “lean” feel
- Neo-soul and R&B grooves
- Laid-back house and downtempo
- Verses where you want to create space before a punchy chorus
The magic combination: Try this: keep your hi-hats locked to the grid (or just slightly randomized), drag your kicks 10ms late, and push your snares 8ms early. Boom—instant pocket. Your drums now have the same kind of push-pull tension that makes live drummers sound musical.
Just remember: we’re talking tiny adjustments here. If you’re moving things 50+ milliseconds, you’ve crossed from “feel” into “sloppy.” From experience, you’ll likely begin to actually hear timing differences at about 5ms. So, musically, you’re likely talking about adjustments in the 5ms to 10ms range *unless you’re going from something really extreme or glitchy)
4. Ghost Notes: The Secret Sauce Nobody Talks About
Want to know the single biggest difference between a beginner’s drum programming and a pro’s? Ghost notes.
Ghost notes are those super-quiet, almost-barely-there snare hits that real drummers play between the main beats. They’re usually played at extremely low velocities (we’re talking 25-45 range) and they serve a crucial purpose: they fill in the gaps and create rhythmic “glue” that holds the whole pattern together.
Listen to any great funk, hip-hop, or R&B track and you’ll hear them. They’re the whisper-quiet snare taps that you don’t consciously notice but that you’d definitely miss if they weren’t there.
Where to place ghost notes:
The most common placement is on the 16th notes between your main snare hits. If your backbeat snares are on 2 and 4, try adding ghost notes on the “e” and “a” (the 16th notes) around them.
For a basic pattern:
- Beat 1: Kick (loud)
- Beat 1-e: Ghost snare (quiet)
- Beat 2: Snare (loud)
- Beat 2-a: Ghost snare (quiet)
- Beat 3: Kick (loud)
- Beat 4: Snare (loud)
- Beat 4-e: Ghost snare (quiet)
Velocity is everything:
Ghost notes should be felt more than heard. Set them around velocity 30-40 to start, then adjust by ear. Too loud and they sound like mistakes. Too quiet and they disappear entirely. You want them sitting just under the threshold where they add texture without calling attention to themselves.
This is where MIDI programming can actually struggle to compete with real recordings—getting that perfect ghost note blend requires finesse. (Though if you really want authentic ghost notes without the hassle, working with pre-recorded loops from something like Slam Tracks gives you those nuances baked right in from professional drummers who know exactly how to play them.)
5. The “Human Touch” Checklist: Putting It All Together
Alright, you’ve got the tools. Now let’s talk about how to apply them systematically to any MIDI drum pattern you create.
Before you hit export, run through this checklist:
✓ Velocity check:
- Are your kick velocities varied (not all the same)?
- Do your snares have accents on backbeats?
- Are hi-hats varied enough to sound like a hand is playing them?
- Have you added ghost notes at low velocities?
✓ Timing check:
- Is everything perfectly quantized? (If yes, that’s the problem)
- Have you considered rushing snares for energy or dragging kicks for groove?
- Do certain elements stay on-grid while others float? (This contrast is good!)
- Does the timing variation sound musical or just sloppy?
✓ Pattern check:
- Does every 4-bar loop sound identical? (Add subtle variations every 8 or 16 bars)
- Are there moments where you drop elements (like removing hi-hats for emphasis)?
- Have you listened to reference tracks in your genre to check if your “humanization” matches the style?
✓ The ultimate test: Close your eyes and listen. Does it groove? Does it make you nod your head? Or does it sound like a robot trying to remember what rhythm feels like?
Be honest with yourself. Sometimes you need to throw out what you’ve programmed and start fresh. That’s okay—every great producer has a graveyard of MIDI clips that didn’t make the cut.
The Bottom Line: Imperfection Is the Goal
Here’s the paradox of programming drums: you’re using a perfect digital tool (your DAW) to create something imperfect (human performance). You have to intentionally make things worse from a technical standpoint to make them better from a musical standpoint.

Those tiny timing variations? Technically inaccurate. Those velocity fluctuations? Technically inconsistent. Those ghost notes that barely register? Technically unnecessary.
But musically? They’re everything.
The goal isn’t to make MIDI drums that pass for a real drummer under scientific analysis. The goal is to make drums that feel right, that serve the song, that make people move. Sometimes that means embracing imperfection. Sometimes it means spending an hour adjusting velocities by hand. Sometimes it means accepting that programming great drums is genuinely difficult.
And hey, if you ever get tired of fighting with MIDI and just want drums that sound human because they are human, that’s what live acoustic recordings are for. At Slam Tracks, we’ve been capturing real drummers playing real kits for over 20 years, giving you all those natural timing variations, velocity nuances, and ghost notes without having to program a single MIDI note. Sometimes the best way to get human-sounding drums is to start with actual humans.
But whether you’re programming MIDI or working with loops, understanding these principles will make you a better producer. Because knowing why live drums sound good helps you make better decisions—no matter what tools you’re using.
Now get back to your DAW and start breaking some rules. Your drums will thank you for it.
And, yeah, if you don’t want to deal with any of this, you can always get a drummer to play on an electronic kit. Guaranteed that will sound human, for better worse!
Have fun, and good luck keeping the beauty of human imperfections in your drum tracks and music.